Capability guide
Wondering: can codeformer restore old photos?
If you're asking can codeformer restore old photos, the useful distinction is between restoring a face and restoring an entire print. CodeFormer can reconstruct degraded facial detail, but it cannot undo every kind of damage to an old photograph.
This entry point vs the general one
Start with the damaged area, not the photograph's age. A face-first approach makes sense when a recognizable portrait is the main goal; other damage may need separate work.
- can codeformer fix blurry faces See how facial blur differs from scratches, fading, and missing parts of an old print.
- what does codeformer do Get a plain-language explanation of the model's face-restoration purpose.
- codeformer examples free Use example scenarios to judge which kinds of facial degradation are worth testing.
The 3 things only it does
These are face-specific contributions to an old-photo workflow, not three ways to repair the whole photograph.
-
1
Rebuild readable facial features
When a face is soft or degraded, CodeFormer estimates more coherent eyes, nose, and mouth detail. That estimate can make a small portrait easier to read, but it is not a recovery of pixels that still exist somewhere in the scan.
-
2
Improve a face within a larger image
A face-restoration workflow can concentrate processing on detected faces rather than treating a coat, wall, and face as identical textures. Check the recombined image closely: a restored face can look noticeably sharper than its surroundings.
-
3
Provide a face-focused comparison
Compare the original and processed face at the same size before deciding whether to keep the result. Improved clarity matters less if the expression, age, or distinctive features no longer resemble the person you know.
How to start
Make a clean digital scan, keep the original untouched, and compare a face-first pass with broader photo repair. The table separates the two jobs.
| Face-first old-photo approach | General photo restoration | |
|---|---|---|
| Best starting point | A visible face whose features are blurred or degraded. | A print with damage spread across the whole frame. |
| Input preparation | Scan the print cleanly and retain enough facial detail to assess the result. | Scan the full print, including damaged edges and background. |
| Primary target | Facial structure and apparent facial detail. | Scratches, dust, tears, exposure, and overall appearance. |
| First comparison | Inspect identity, expression, and facial proportions against the original. | Inspect repairs across the print, especially edges and repeated textures. |
| Common mismatch | The face appears sharper than the surrounding photograph. | The print looks cleaner while the face remains indistinct. |
| When to combine them | Use a face pass when broader cleanup leaves a visible portrait soft. | Use broader cleanup when the face improves but scratches or fading remain. |
Limits
A plausible-looking face is not proof of historical accuracy. Keep the original scan available for every comparison.
Missing faces cannot be verified
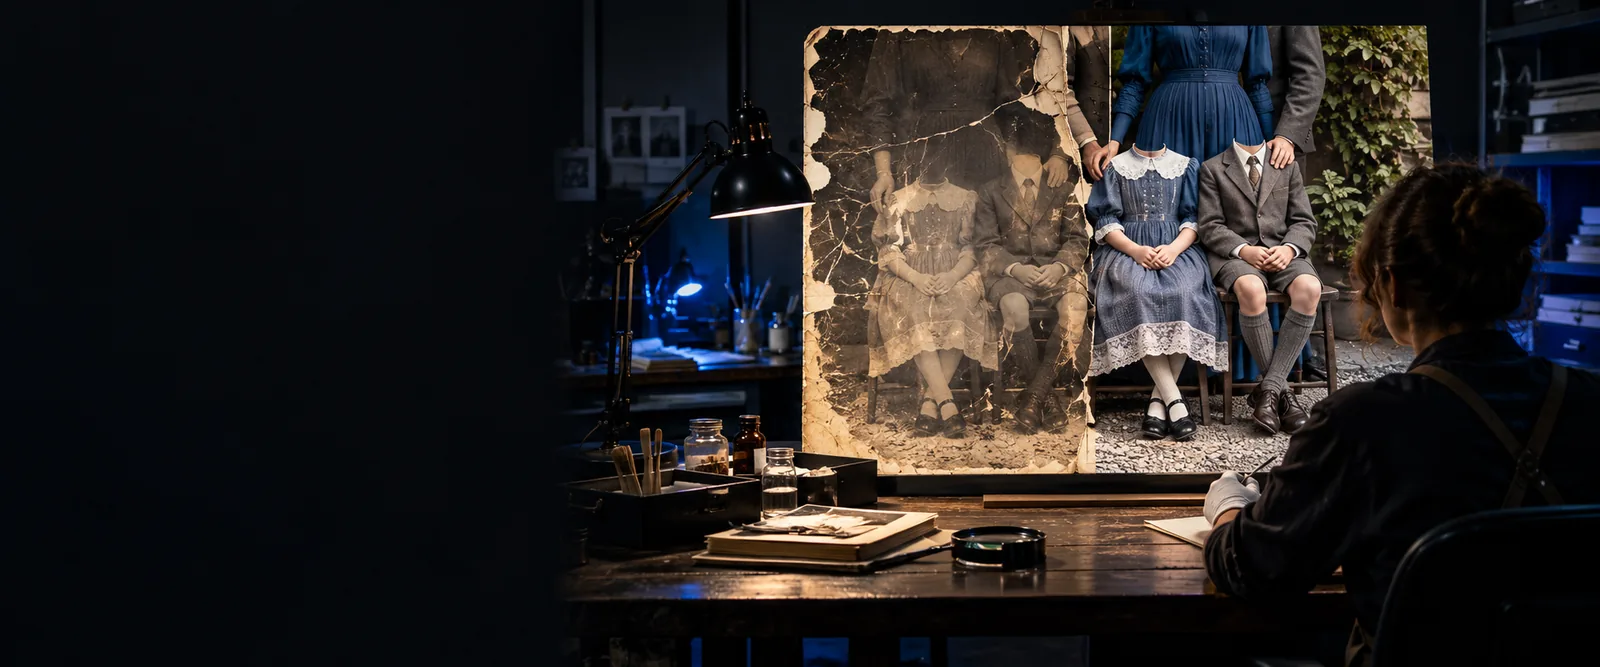
If a face is torn away, covered, or reduced to too few clues, generated detail may look convincing without matching the person.
What to do instead
Use another photograph of the same person as a reference, or leave uncertain areas visibly unrestored.
Print damage remains elsewhere
CodeFormer is not a complete fix for scratches, creases, stains, torn borders, or a faded background.
What to do instead
Address whole-image defects in a separate restoration step and review the combined result.
Faces may change character
Strong reconstruction can alter an expression, apparent age, or distinctive feature, particularly in tiny or heavily damaged portraits.
What to do instead
Compare at the original display size and prefer a less dramatic result when likeness matters.
Color is a separate decision
Sharper facial features do not establish the original colors of skin, clothing, or the scene.
What to do instead
Treat colorization as a separate, interpretive edit rather than evidence recovered from the print.
Continue with a sample scan
Choose a scan with a visible face and keep an untouched copy. Explore the available tools, then judge any result against the original for likeness as well as clarity; plan separate work for damage outside the face.
Assess the face, then the photograph
- Keep the original scan
- Compare facial likeness
- Check damage beyond the face
Its own FAQ
It can help restore facial detail in some old photographs, especially when a face is visible but soft or degraded. It is a face-restoration model, not a complete repair process for every part of an aged print.
No exact reconstruction is guaranteed. The model estimates plausible facial detail, so compare the result with the original and any other known photographs before treating a feature as accurate.
Its main purpose is restoring faces, not removing scratches throughout a print. Scratches, creases, and stains outside the face generally call for a separate image-repair step.
It may help if the scan retains enough recognizable facial information, but very small faces give the model less to work with. Make the best scan available and inspect the output at the size you intend to use it.
There is no single order that suits every print. Preserve the original, test the face separately, and compare it with a broader cleanup so you can spot mismatched sharpness or changes in likeness.